Flask App Setup Tutorial - For Beginners
How to set up your very first Flask application
TECHNICAL LEARNINGTECH NEWBIESCODING
5/27/20245 min read


Flask was one of the first frameworks I learnt. I was excited about finally being able to simply combine my back-end with my front-end and see the logic and design come to life!
Today we'll be doing a quick Flask app tutorial.
What is Flask?
Unfortunately, 'Flask' does share a name with a handy tool that many of us use to keep our coffee warm in the mornings. However, the Flask I am referring to is different. It is a Python microframework - think of a 'base' application where many things have been pre-coded. You just select what functions you want to use and build on this foundation. Flask can help us build web applications and APIs. It's generally used for small to medium-sized applications.
Things you'll need to build your Flask app:
IDE (I use pycharm)
Python
Step 1. Open a new project in your IDE then execute the following command in the terminal to install Flask:
Step 2: Base setup
Create a file called 'Main.py'
Add the following code to this file:
Congrats, you've written your first Flask App!
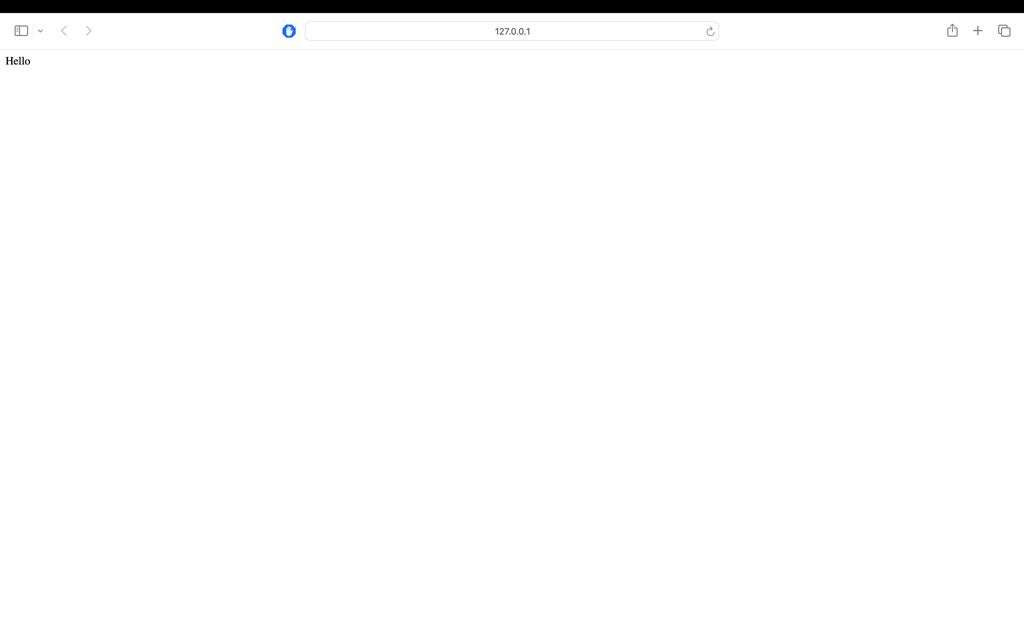
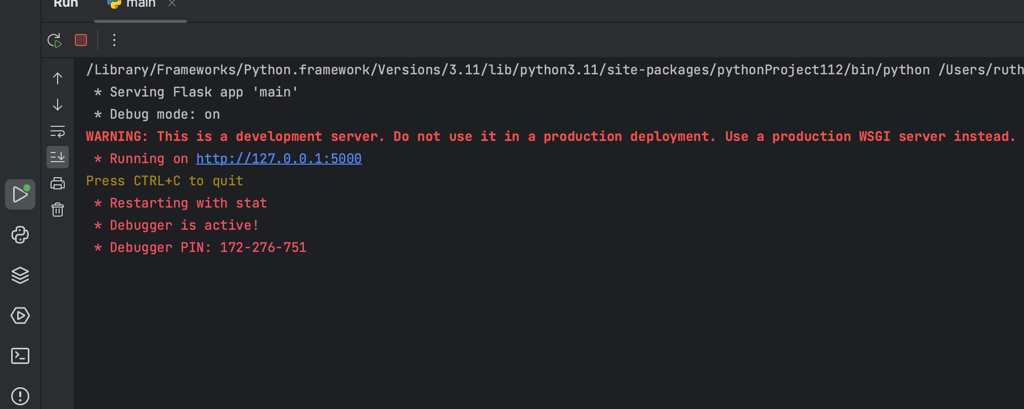
Click the green play button in your IDE ▶️ to run your code.
Then in your console, you should see text as shown below, click on the blue link to open the port your application is running on and reveal your web page..
But...we can do this with html, right? So what's the point of using Flask?
Flask has more capabilities such as templating, and most importantly, handling the backend. So let's get into it!
Step 3: Templates
Create a folder called 'templates'
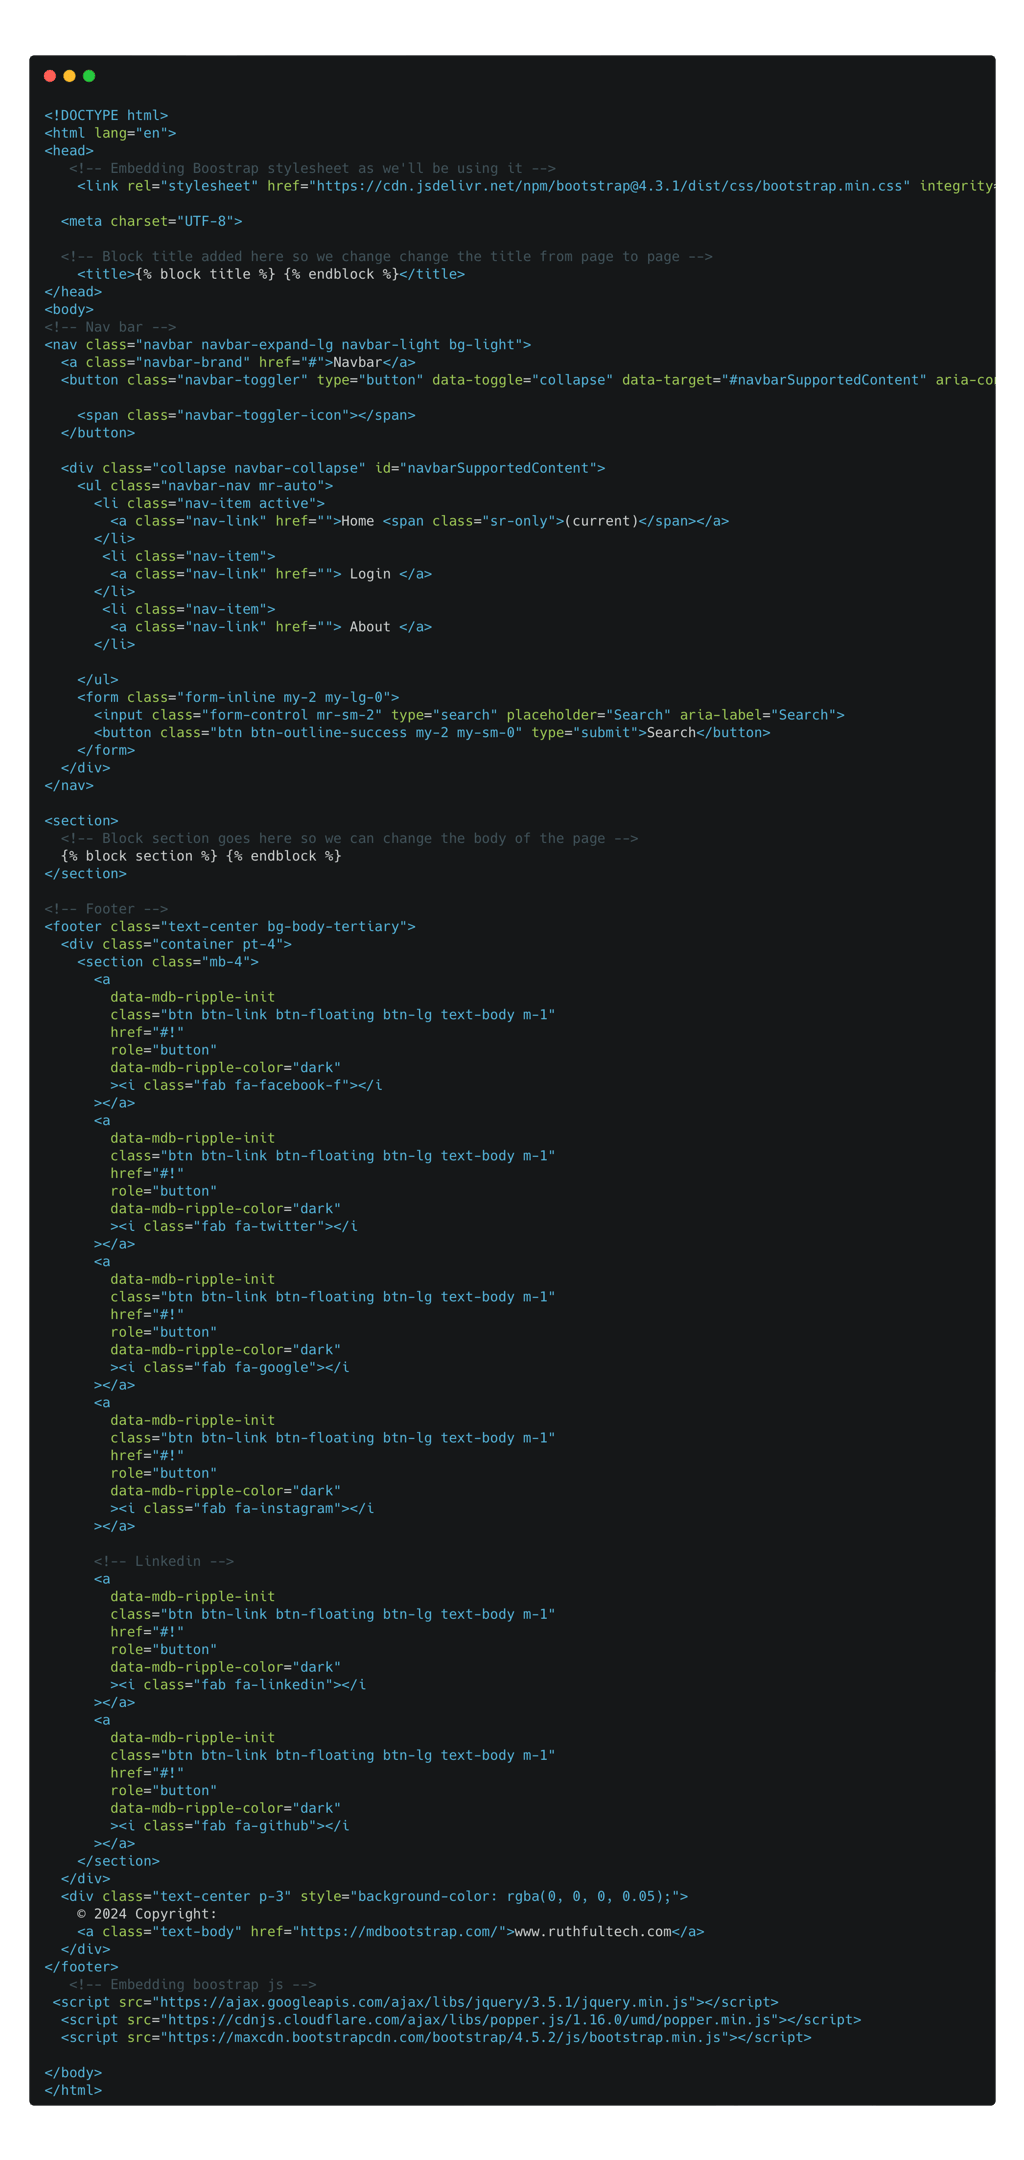
In this folder, create a file called: base.html - this page will act as a template that we use for every other page. It should have things you'd want to display on most pages. In this scenario, we need a navigation bar and a footer on every page, so this is what the base template will have.
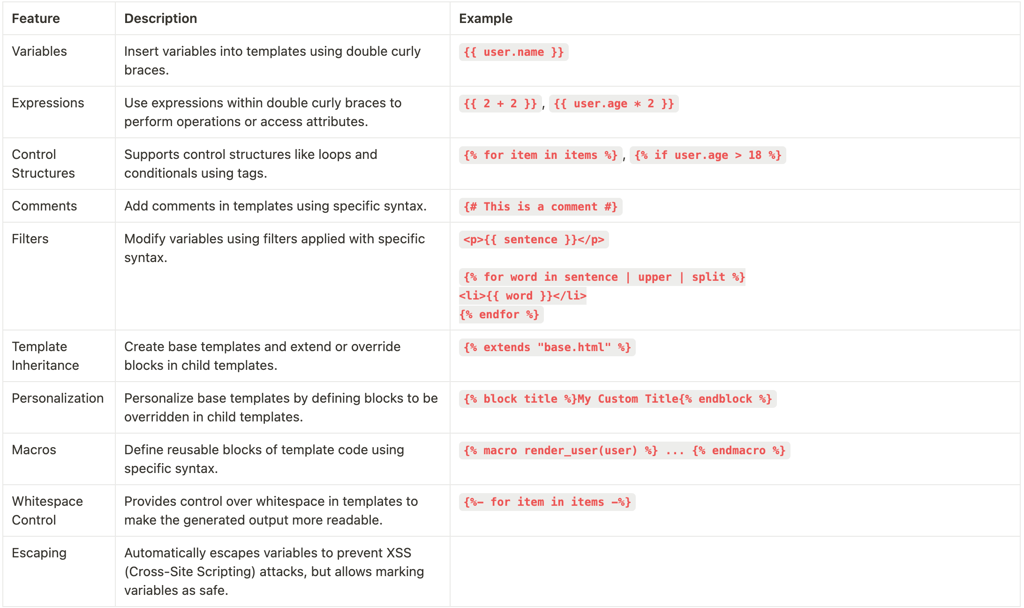
Flask uses jinja2 - a powerful templating engine for Python. It allows you to generate dynamic content in your web applications or any other Python project where you need to generate text-based output.
Here are some of the features in jinja2:
So now that we have our base template, how do we render it onto other pages?
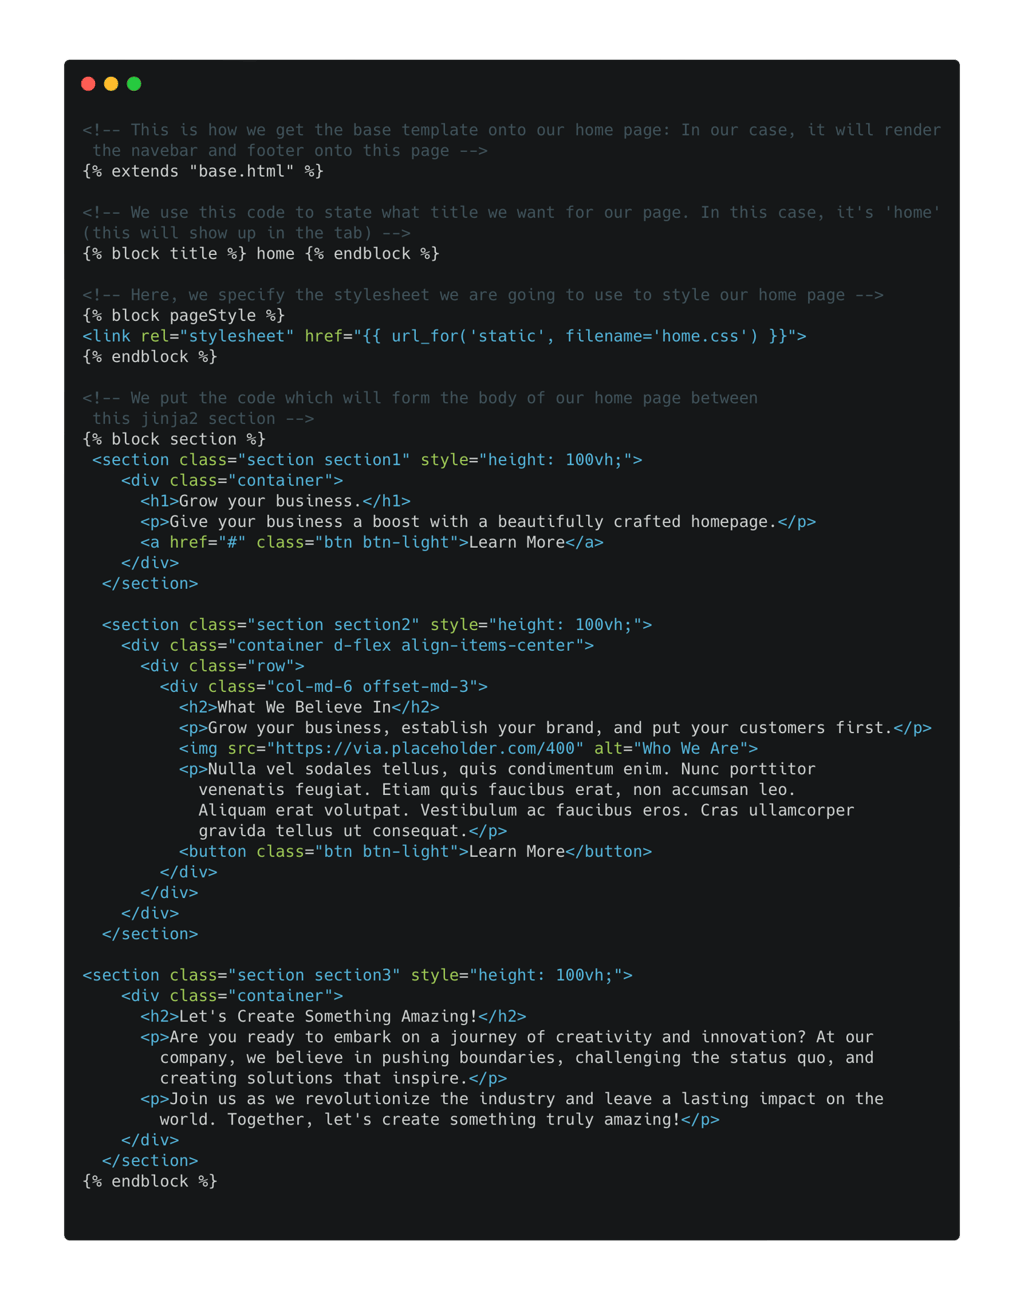
Let's start with a home page. In the template folder, create a new file called 'home.html'
We are going to use the jijina2 syntax in our curly brackets {} to render the template and personalise the title and body (as shown below). [Find full code here] I will then add any content specific to my home page.
Step 4: Routing
Now, we need to go back to our main.py to ensure that the home route is rendering the home.html that we just created. We do this by using the render_template() function to tell our application that we want to render home.html when we go to the url route '/'
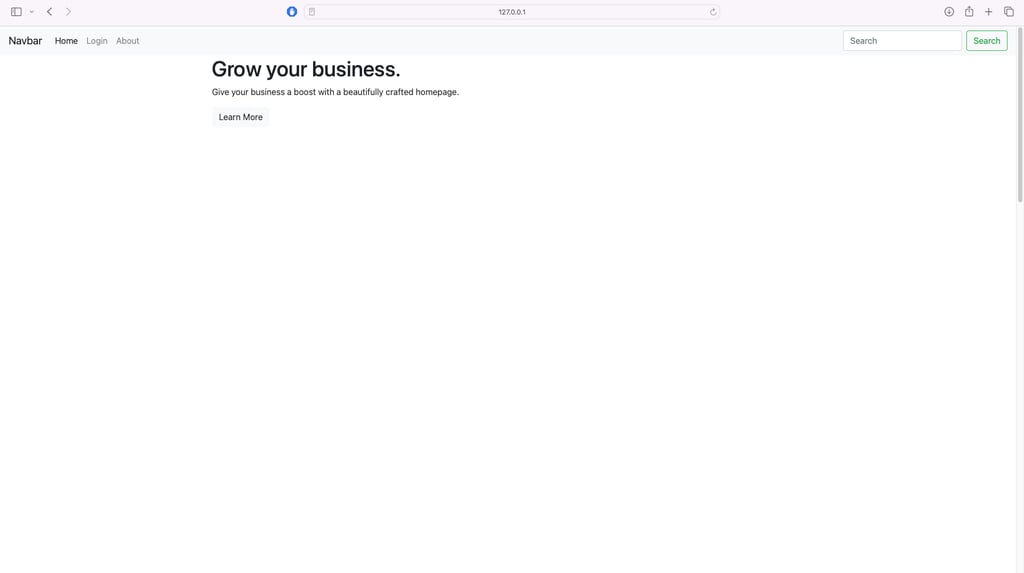
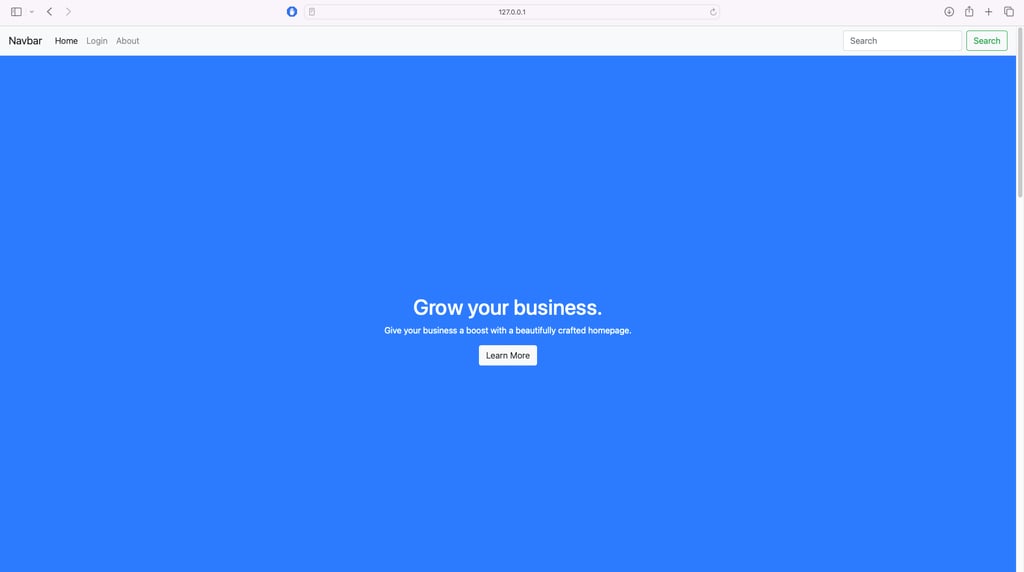
When you run your app, you should see something like the page below. Now, I dont know about you, but I think this page looks a lil ugly, so lets style it using css!
In your root folder, create a new folder called 'static'. In this folder, create a file called 'home.css'. Side note, we have already linked our css stylesheet to our html with the code below which can be found in our home.html file:
{% block pageStyle %}
<link rel="stylesheet" href="{{ url_for('static', filename='home.css') }}">
{% endblock %}
You would just change the filename to the same name as the CSS file you are using.
You can add any CSS you want to this page, here is what I used:
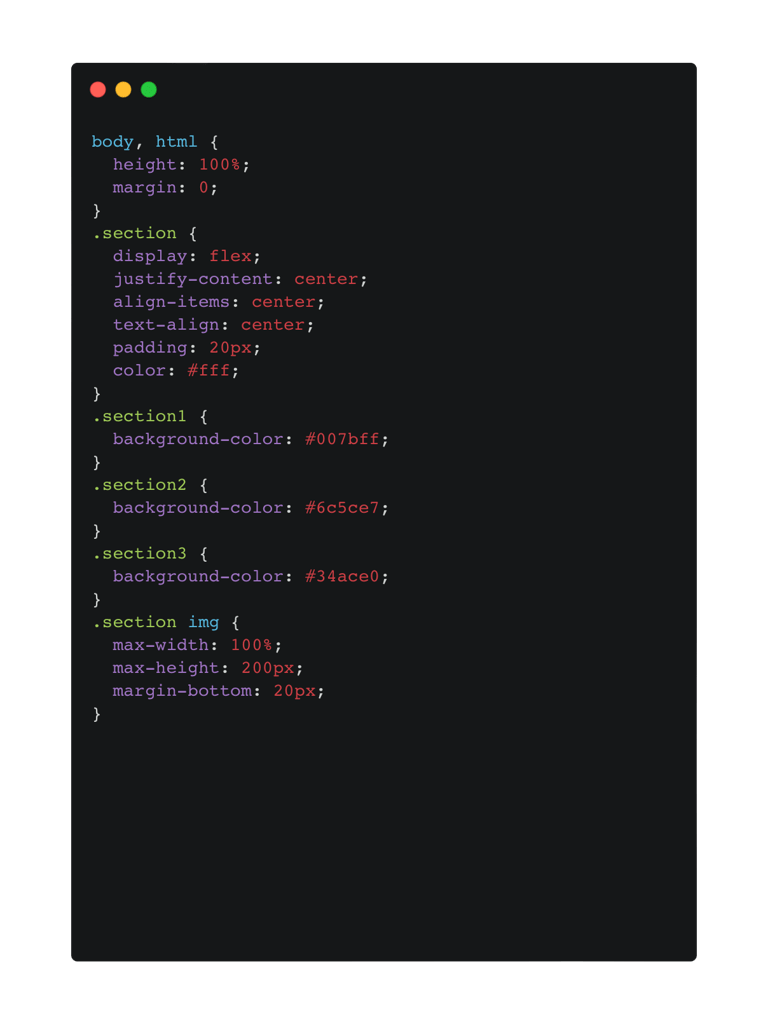
Ahh thats better.
Step 5: Urls
Now, you've probably realised then when we click any button in our nav bar, it doesn't navigate us to those pages. So, we need to
Create HTML pages for each one
Create CSS files for each one
Create more routes in our main.py file to render these templates
I'll leave steps 1 and 2 to you as they should be pretty straight forward (just copy what we've done with home.html but create and use different file names). If you need more help, you can view the whole repo on Bitbucket here.
Below is how we create our new routes. To display each route, run the app, click the URL in the console and add the path '/login' or '/about' at the end
To ensure the buttons in our navbar direct us to these new pages, go to base.html and set the href values to the route function names
<ul class="navbar-nav mr-auto">
<li class="nav-item active">
<a class="nav-link" href="{{ url_for('home_page') }}">Home <span class="sr-only">(current)</span></a>
</li>
<li class="nav-item">
<a class="nav-link" href="{{ url_for('login_page') }}"> Login </a>
</li>
<li class="nav-item">
<a class="nav-link" href="{{ url_for('about_page')}}"> About </a>
</li>
</ul>
And there you go, your first Flask App. Congrats. You can access the bitbucket repo with all the code here.
If you liked this post, you may enjoy:
1. How to turn a txt file to a pdf using python
Until next time, happy coding!
Ruth